
If you want to add captcha to shopify checkout, the right goal is not “more friction.” It’s to block automated abuse while keeping legitimate customers moving. In practice, that means placing challenge checks on the riskiest moments of the checkout flow—account creation, discount-code abuse, suspicious payment attempts, and repeat submissions—rather than throwing a puzzle at every shopper.
For Shopify stores, the important detail is that checkout protection has to respect how the platform works. You usually can’t just inject arbitrary client-side code everywhere in checkout, so the safest path is to protect the touchpoints you control, validate on your server, and only challenge when risk signals justify it. That’s the pattern we’ll use here.
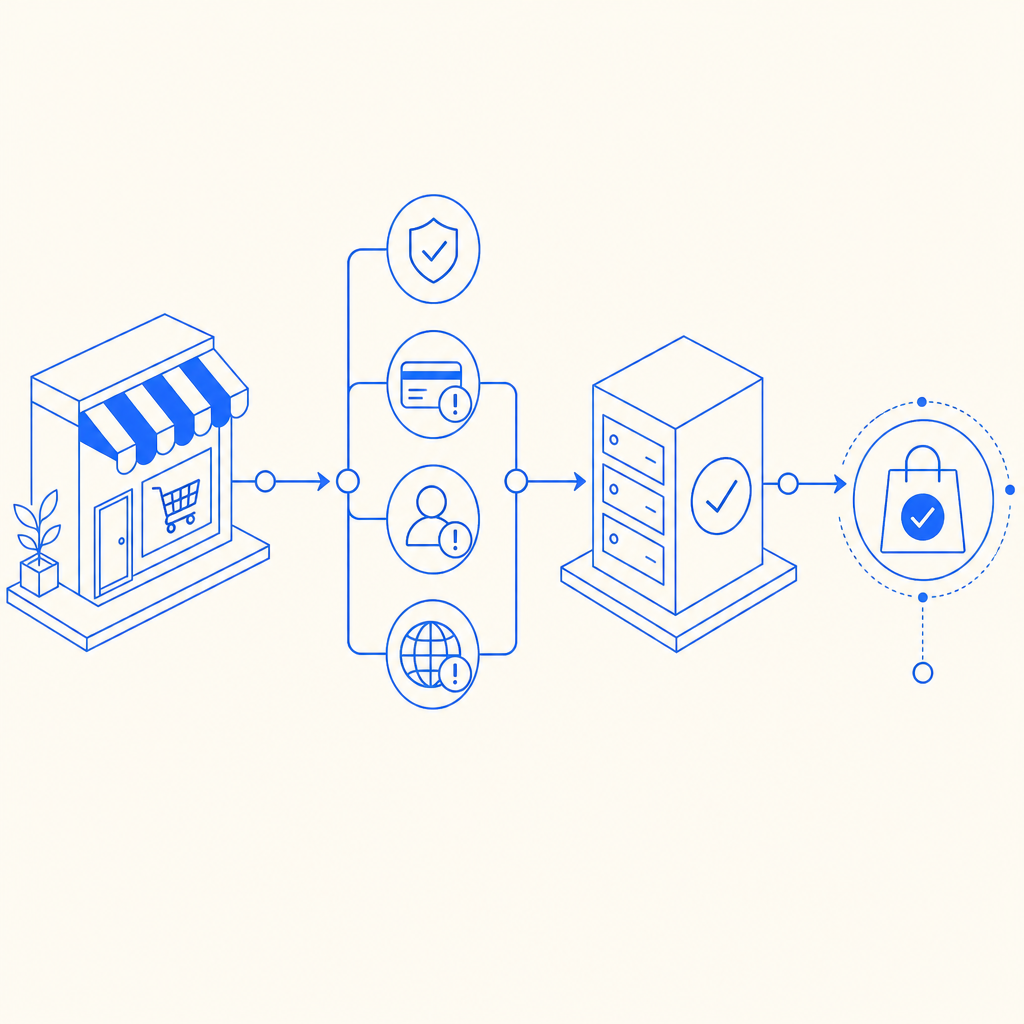
What to protect in Shopify checkout
The phrase “add captcha to shopify checkout” can mean a few different things depending on your store setup. For most merchants, the useful targets are not the final payment fields themselves, but the actions around checkout that bots exploit.
Common abuse points include:
Account creation and guest checkout form spam
- Bots create fake accounts, flood customer records, or test stolen email lists.
- Captcha helps when signup velocity spikes or patterns look scripted.
Discount and promotion abuse
- Automated scripts brute-force coupon codes or repeatedly submit code combinations.
- A captcha trigger after a threshold can slow this down without affecting everyone.
High-risk checkout submissions
- If the same IP, device, or email pattern submits many orders, challenge only those sessions.
- Keep the normal path friction-free for returning customers.
Inventory hoarding and cart automation
- Limited-drop stores often see bots adding items and racing to checkout.
- A server-side challenge on suspicious cart/checkout transitions can help reduce that pressure.
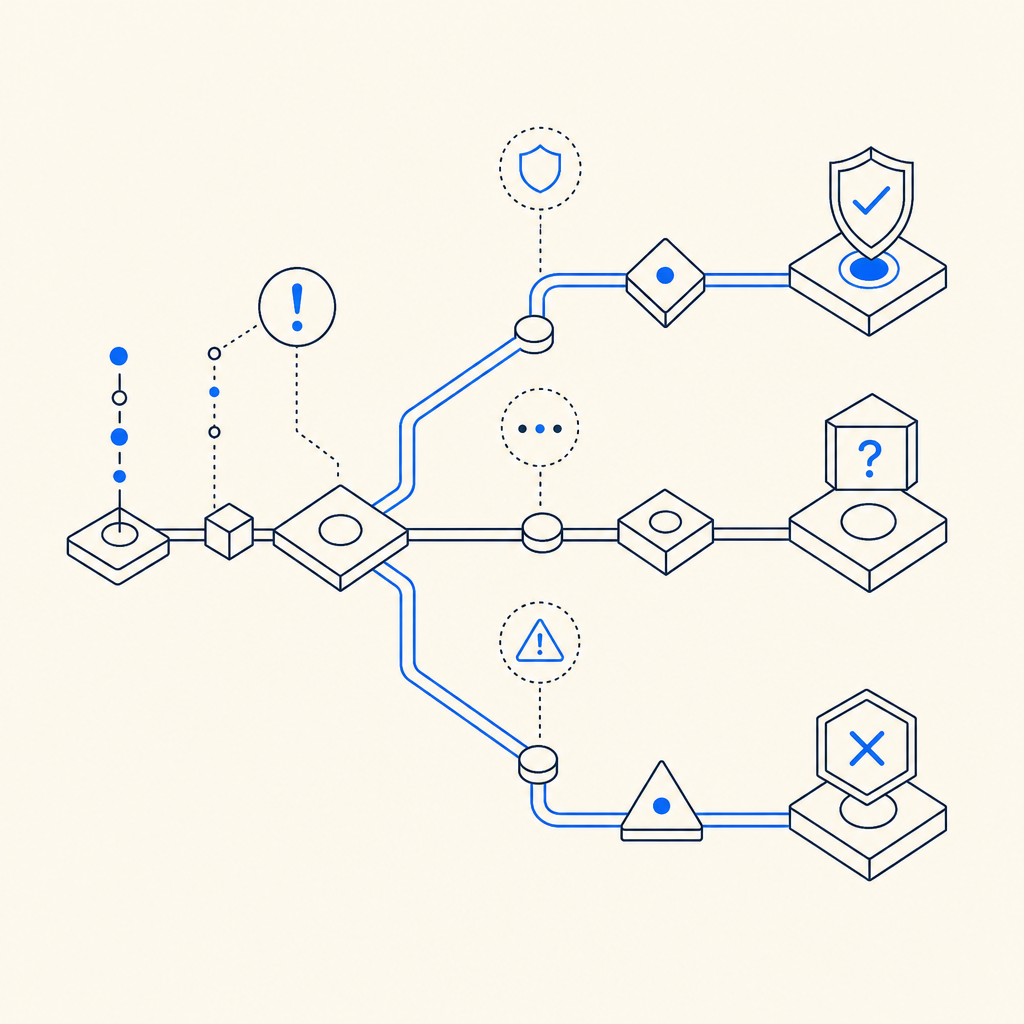
The key idea: use captcha as a decision point, not as a blanket gate. That keeps legitimate conversion intact and focuses friction where abuse is most likely.
A practical implementation pattern
If you’re using a CAPTCHA layer with Shopify, the cleanest setup is usually:
- render a lightweight client-side widget or loader where you control the page,
- collect a pass token,
- send that token to your backend,
- validate it before you allow the risky action to complete.
CaptchaLa follows that model with a loader at https://cdn.captcha-cdn.net/captchala-loader.js and server validation via:
POST https://apiv1.captcha.la/v1/validate
Body: { pass_token, client_ip }
Headers: X-App-Key, X-App-Secret
That matters because you do not want the browser deciding whether a checkout step is trusted. The browser can collect the token, but your server should make the final call.
A simple implementation flow looks like this:
// English comments only
// 1. User completes a captcha challenge on the client
// 2. Client sends pass_token to your backend
// 3. Backend validates the token with CaptchaLa
// 4. Backend allows the checkout action only if validation succeeds

async function validateCheckout(passToken, clientIp) {
  const res = await fetch("https://apiv1.captcha.la/v1/validate", {
    method: "POST",
    headers: {
      "Content-Type": "application/json",
      "X-App-Key": process.env.CAPTCHALA_APP_KEY,
      "X-App-Secret": process.env.CAPTCHALA_APP_SECRET,
    },
    body: JSON.stringify({
      pass_token: passToken,
      client_ip: clientIp,
    }),
  });

  if (!res.ok) return { allowed: false };

  const data = await res.json();
  return { allowed: Boolean(data.valid) };
}
If you need to issue a server-side challenge token, there’s also:
POST https://apiv1.captcha.la/v1/server/challenge/issueThat is useful when your backend wants to initiate the challenge flow based on risk logic, rather than waiting for the client to request it.
Where Shopify fits
Shopify merchants commonly implement this in one of three places:
- Custom storefronts / headless builds: easiest to control, since you own the frontend and backend.
- Embedded app or app proxy flows: useful for collecting and validating tokens around a custom form step.
- Checkout extensions or post-checkout checks: best when you’re working within Shopify’s platform constraints and want to add protection where allowed.
If you are on standard Shopify checkout with limited code injection, focus on the steps you can influence: contact forms, account creation, discount application, and any custom pre-checkout forms. If you use headless commerce, you have much more freedom to challenge specific requests before they become orders.
Choosing the right CAPTCHA style for your store
Not every bot-defense product behaves the same way. Some merchants compare reCAPTCHA, hCaptcha, Cloudflare Turnstile, and newer alternatives based on UX, privacy posture, and deployment flexibility. The right choice depends on what you’re protecting and how much friction you can tolerate.
Here’s a straightforward comparison:
| Option | Typical UX | Privacy / data notes | Good fit for Shopify |
|---|---|---|---|
| reCAPTCHA | Familiar, sometimes more intrusive | Often involves Google ecosystem concerns | Useful when familiarity matters |
| hCaptcha | Moderate friction, familiar challenge patterns | Widely used on many sites | Good for generic form protection |
| Cloudflare Turnstile | Low-friction, usually invisible | Strong UX orientation | Good when you want minimal user disruption |
| CaptchaLa | Challenge-based with server validation | First-party data only | Good when you want a controllable, app-friendly setup |
The important part is not branding, but behavior. If your store sees a lot of fake signups, coupon abuse, or scripted checkouts, choose a system that lets you verify server-side and tune challenge frequency. That’s where friction control starts.
CaptchaLa’s product details are worth noting if you’re building a multi-channel storefront: it supports 8 UI languages, native SDKs for Web (JS, Vue, React), iOS, Android, Flutter, and Electron, plus server SDKs like captchala-php and captchala-go. For teams running mobile apps alongside Shopify, that consistency can simplify the risk layer across channels.
You can review implementation details in the docs, and if you want to understand scale options, the pricing page lists a free tier of 1,000 validations per month, then Pro at 50K–200K and Business at 1M.
How to keep conversion healthy
A captcha on checkout can hurt conversion if it is applied too early, too often, or to the wrong users. The goal is to make it almost invisible for legitimate customers and noticeable only for suspicious traffic.
Use risk-based triggers
Rather than challenge every checkout attempt, trigger captcha when you see one or more of these signals:
- High request rate from the same IP or subnet
- Repeated failed coupon submissions
- Multiple carts from the same fingerprint in a short window
- Unusual email patterns or disposable domains
- Mismatch between geography, language, and session behavior
This gives you a graduated response: allow, log, challenge, or block. Captcha is just one step in that ladder.
Keep validation server-side
A client-only “solved” flag is easy to spoof. Your backend should validate the pass token before you:
- create the order,
- apply the discount,
- reserve inventory,
- or mark the customer as trusted.
That server check is where captcha actually becomes useful.
Measure the effect
Track a few practical metrics before and after rollout:
- checkout completion rate,
- challenge pass rate,
- challenge-trigger rate,
- coupon abuse reduction,
- customer support tickets related to checkout friction.
If conversion drops, narrow the trigger conditions before removing the control entirely. Often, the issue is not captcha itself but over-triggering.
Recommended rollout plan
If you’re adding captcha to a Shopify flow for the first time, use a staged rollout:
Start with non-payment forms
- Protect signup, contact, and discount-code endpoints first.
- These are low-risk places to test false positives.
Add server validation
- Keep pass token verification on your backend.
- Never rely on frontend-only checks for risky actions.
Enable risk thresholds
- Trigger captcha only after repeated attempts or suspicious behavior.
- Use IP, velocity, and session patterns.
Test on mobile and desktop
- Make sure the challenge is readable, fast, and accessible.
- If you have apps, use the relevant SDKs so the experience stays consistent.
Review logs weekly
- Look for spikes, false positives, and abuse patterns.
- Tighten or loosen triggers based on real traffic, not hunches.
For teams that want a straightforward setup without building everything from scratch, CaptchaLa can fit into a server-validated flow with minimal moving parts. The practical win is not just stopping bots; it’s keeping the checkout path predictable for humans.
Where to go next
If you’re planning to add captcha to shopify checkout, start by mapping the exact abuse points in your funnel, then wire in server-side validation where it matters most. For implementation details, visit the docs. If you’re evaluating capacity and tiers, check the pricing page and choose the smallest plan that matches your traffic and risk profile.